As you know, Ethereum moved from Proof of Work to Proof of Stake network – to get ETHW coins from a Trezor or Ledger wallet, follow the steps.
How to check if you have been credited with ETHW?
You can find your ETHW by entering the address of your ether wallet in the blockchain of that very first ether on POW, for example in this explorer: https://www.oklink.com/en/ethw. Just enter there the addresses of your ether wallets where you had real ethers at the time of “Merge” and you will see your ETHWs there.
Use Website: https://www.oklink.com/en/ethw
Step 1 — Install MetaMask in Chrome Browser
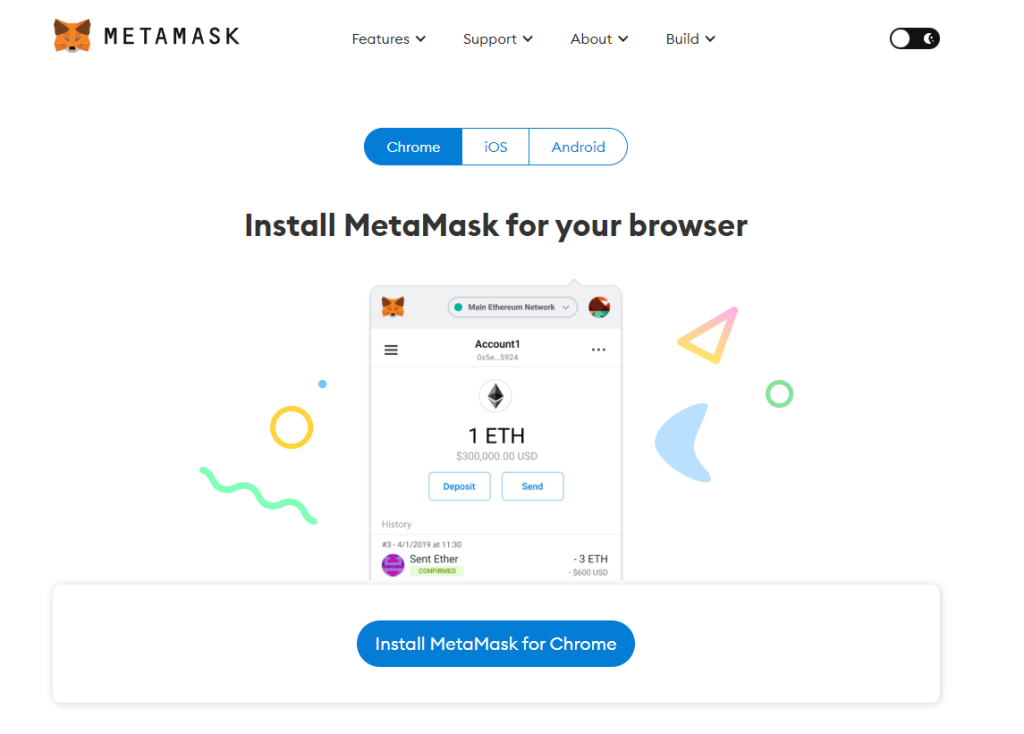
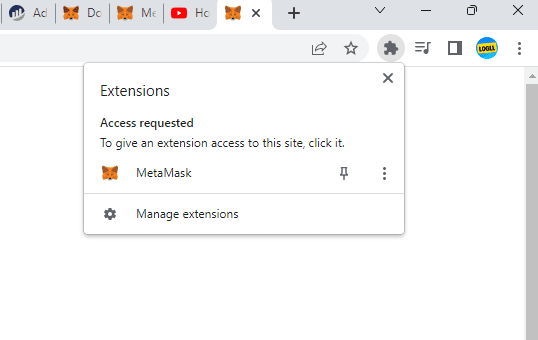
The fox will appear in your chrome browser. Click and a separate page for MetaMask management will open.
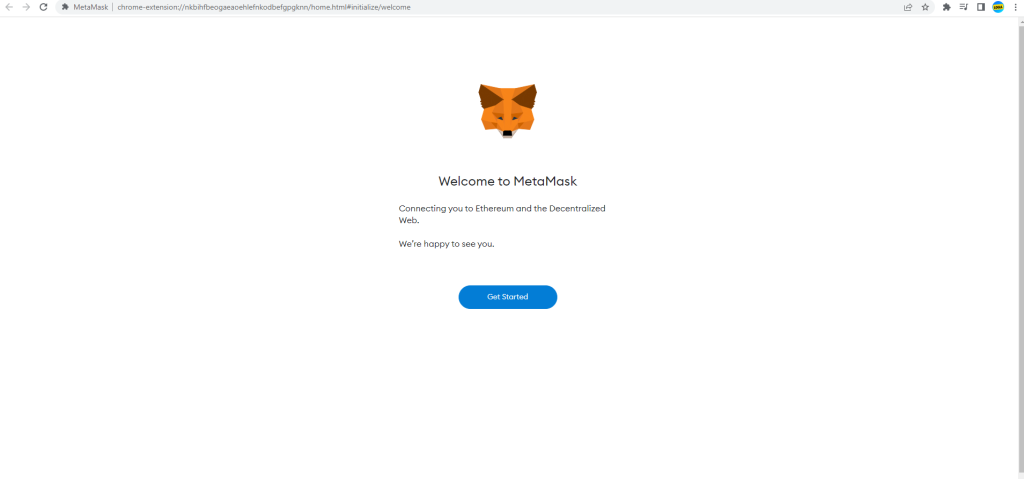
Press “Get Started“
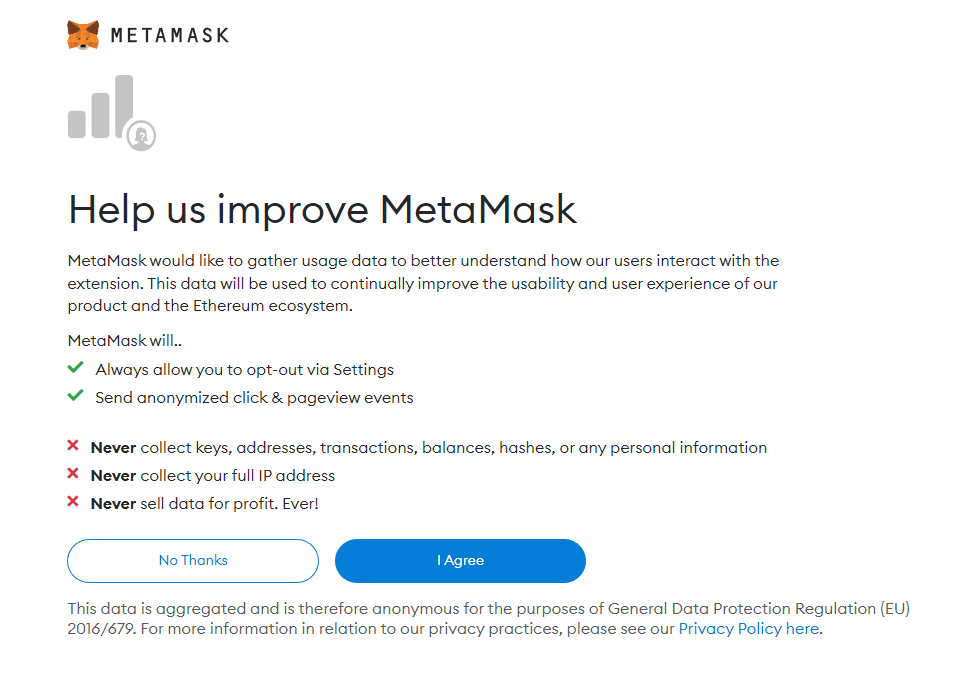
In this step, MetaMask asks permission to collect data about the use of the extension.
I clicked “No Thanks“
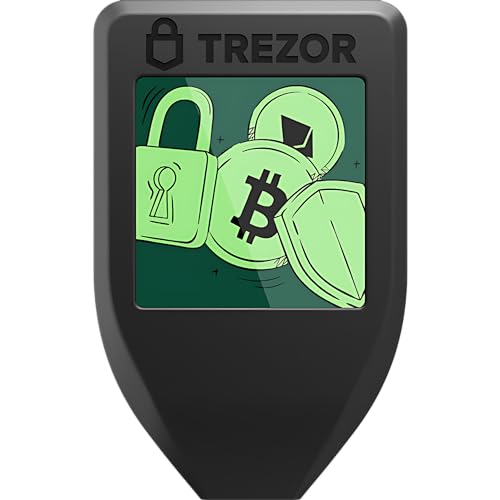
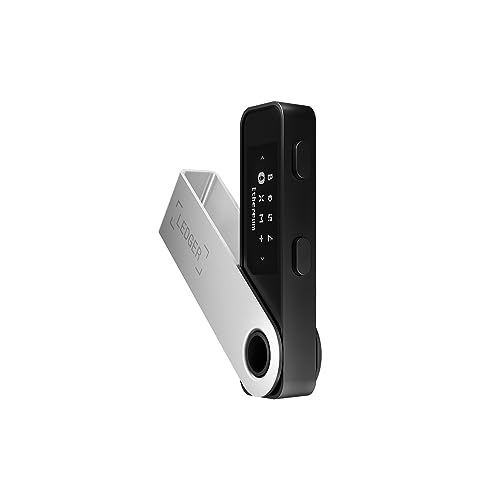
Trezor or Ledget hardware wallet?
If you still don’t have the most secure hardware wallet to store your Bitcoin or Ethereum.
We chose Trezor, the Best Bitcoin Hardware Wallet


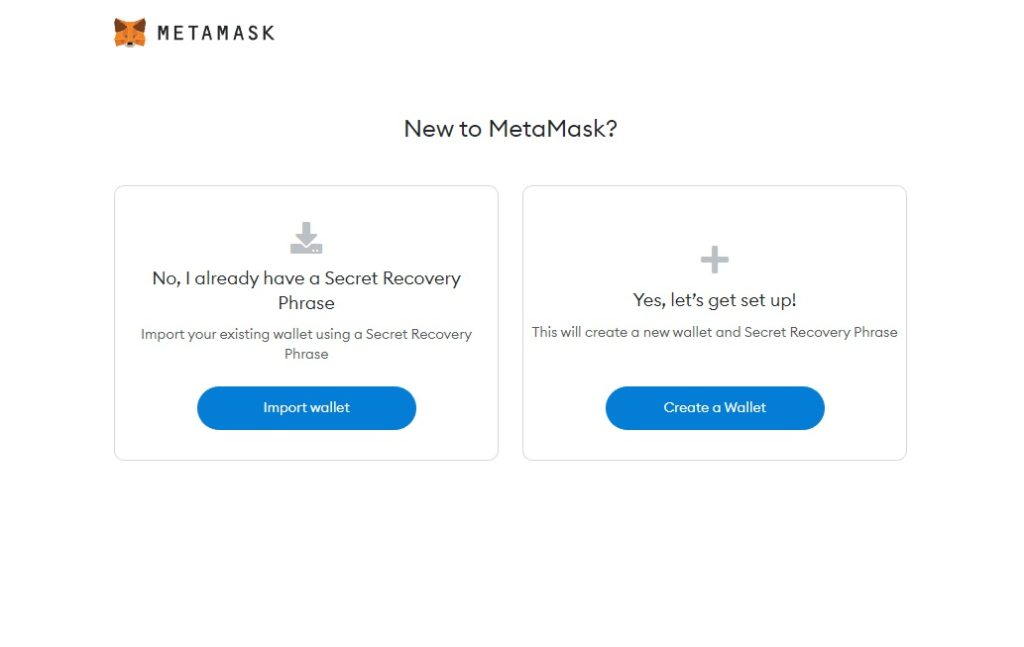
Press “Create a Wallet“
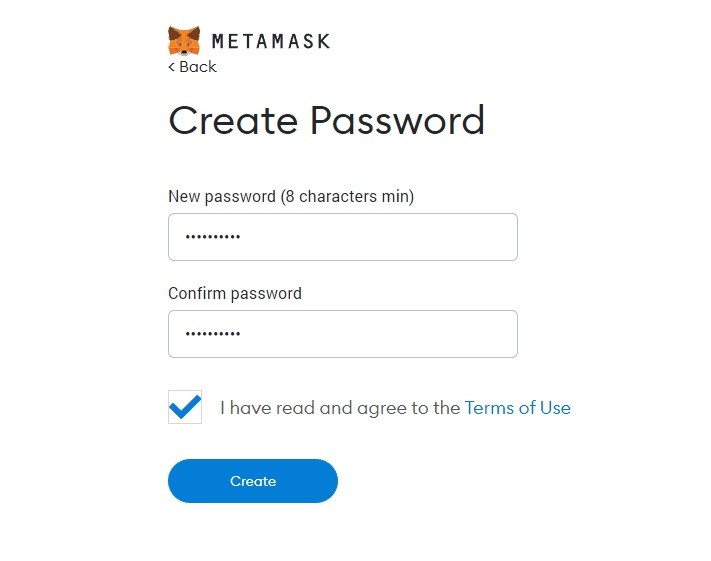
Next, you need to come up with a password of 8 characters or more. After that press “Create“
Step 3 — Create a MetaMask recovery passphrase
This page has a short video for those who don’t know what a secret recovery phrase.
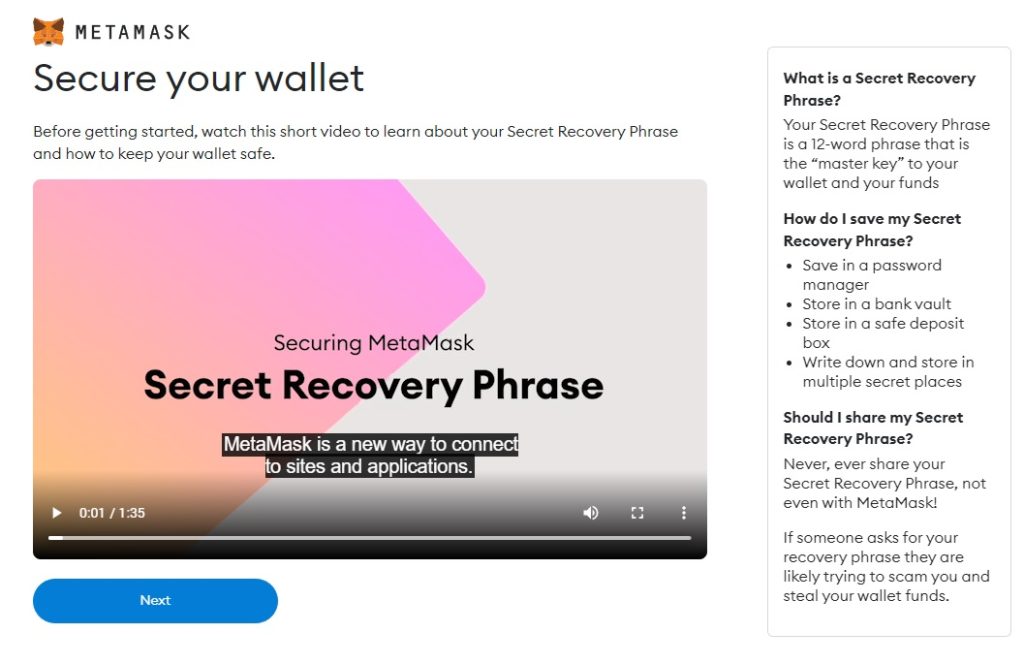
Press “Next“
Secret Recovery Phrase
Press “Click here to reveal secret words“
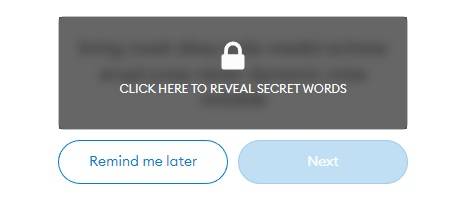
Great. Writing down secret words with a pen on paper! (This is the best storage option) Photo or storing words on computers to recover access to metamask is very dangerous. I do it the old-fashioned way, in a notebook or on a piece of paper.
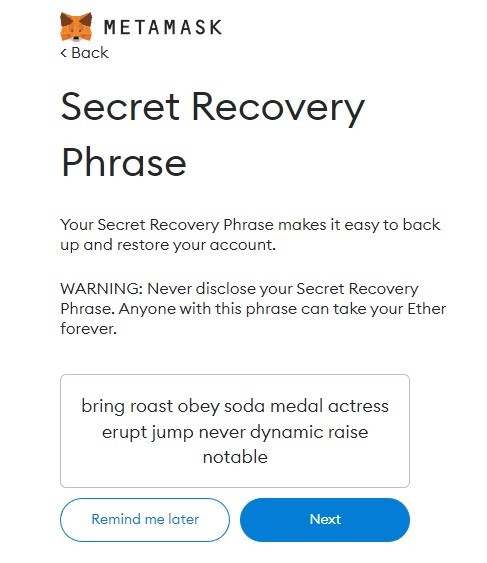
After you have recorded the phrases, press “Next“
Confirm your Secret Recovery Phrase
Please select each phrase in order to make sure it is correct.
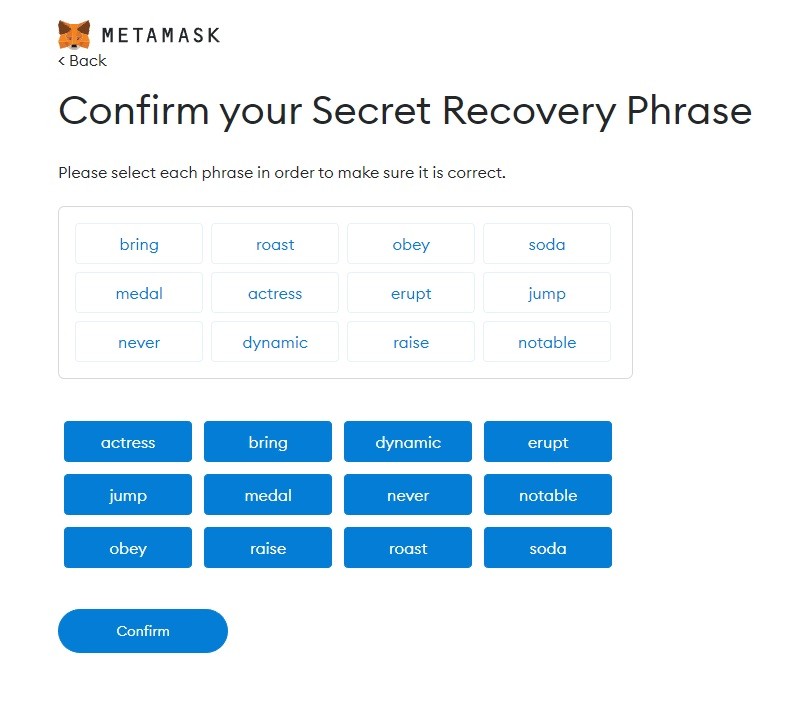
After entering the secret words in order, press “Confirm“
Congratulations :)! You have created a wallet for your MetaMask and you can proceed to the next step.
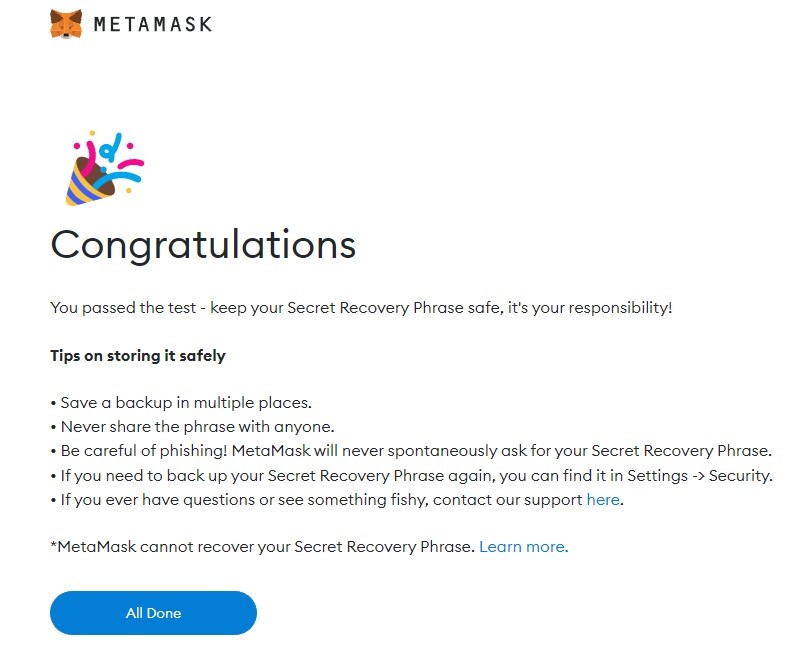
Press “All Done“
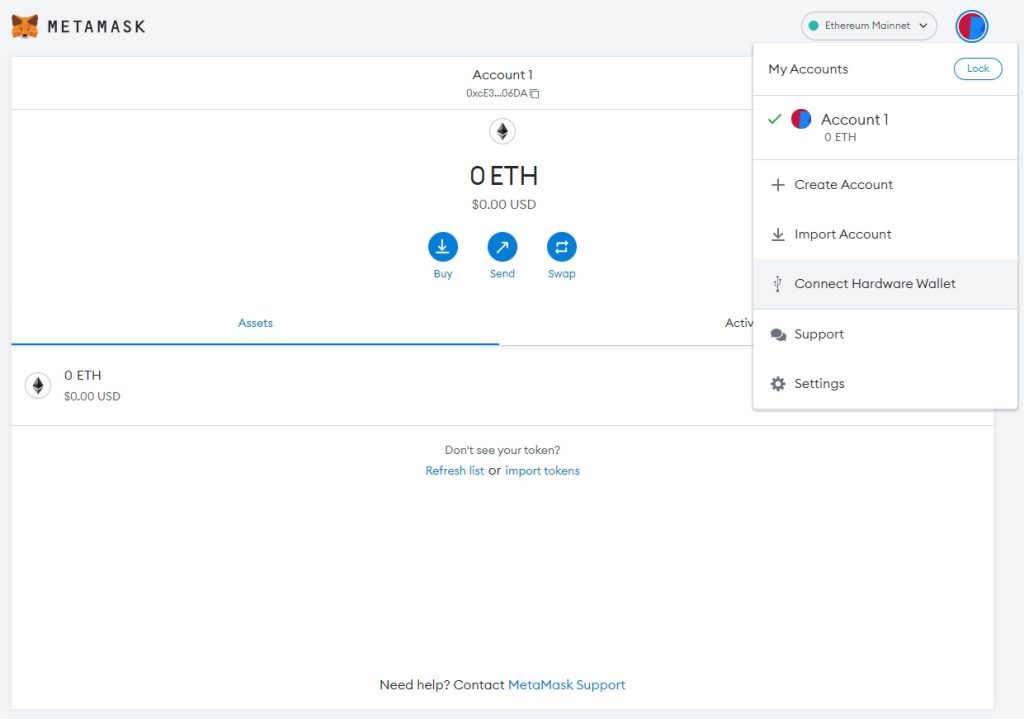
Step 4 — Connect Hardware Wallet (Trezor or Ledger)
Next we need to connect the tresor or leger to the metamask for the next step. You can see more about how to connect a hardware wallet in the video. The next step is to work with ETHW.
Connect a hardware wallet Trezor
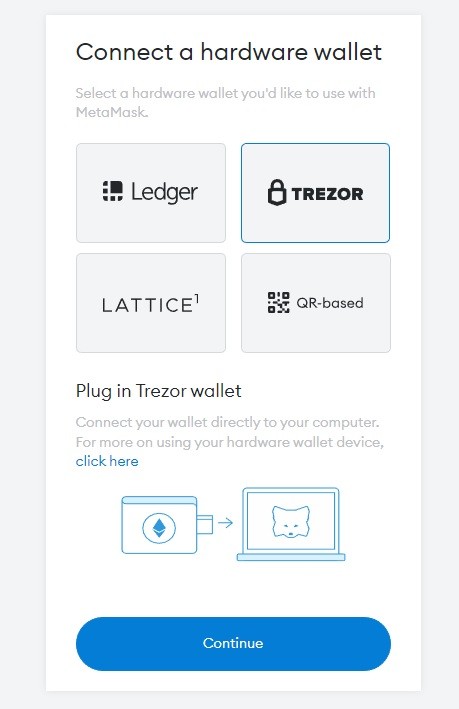
Press “Continue“
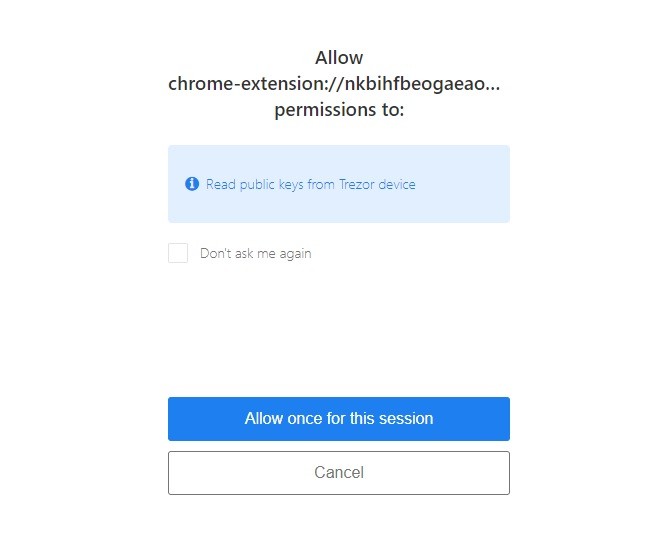
Press “Allow once for this session“
You are allowing the wallet number to be shown from your Trezor. This is a safe operation.
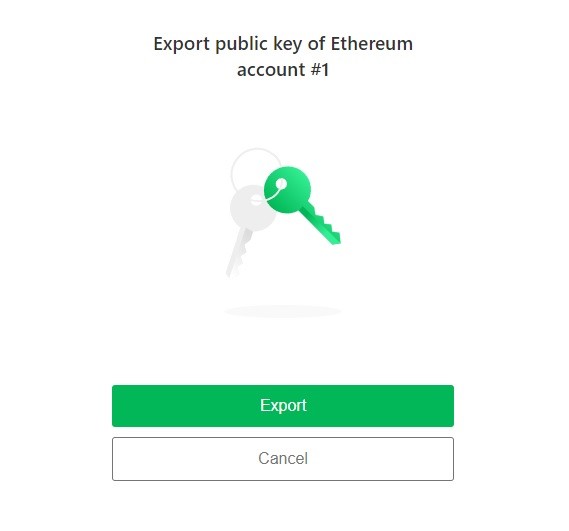
Press “Export“
Enter Pin from your Trezor
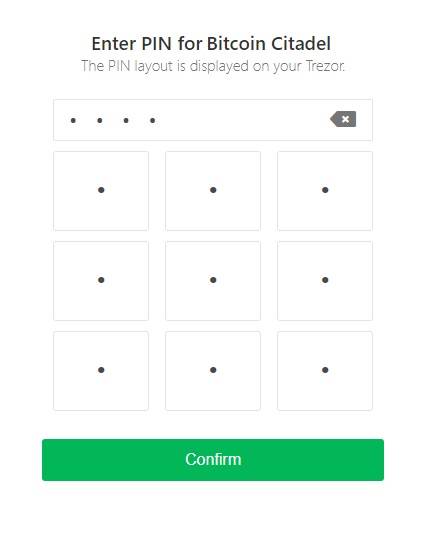
Press “Confirm“
The next step is to show the wallet without a password.
For those who have created a Trezor secret password, enter the secret password.
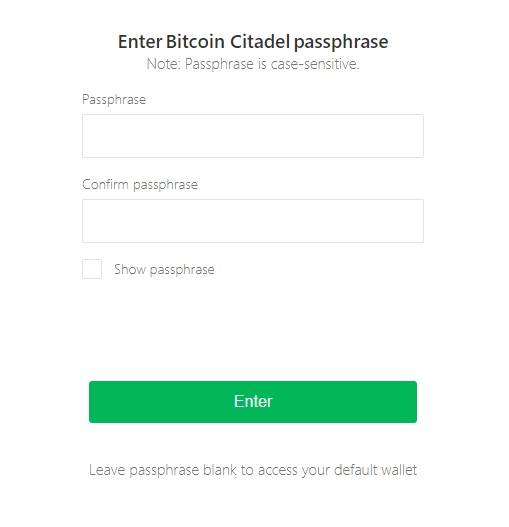
I have two options. To simplify the instructions, I select without entering a password, just a button “Enter”
Step 5 — Select Ethereum Account
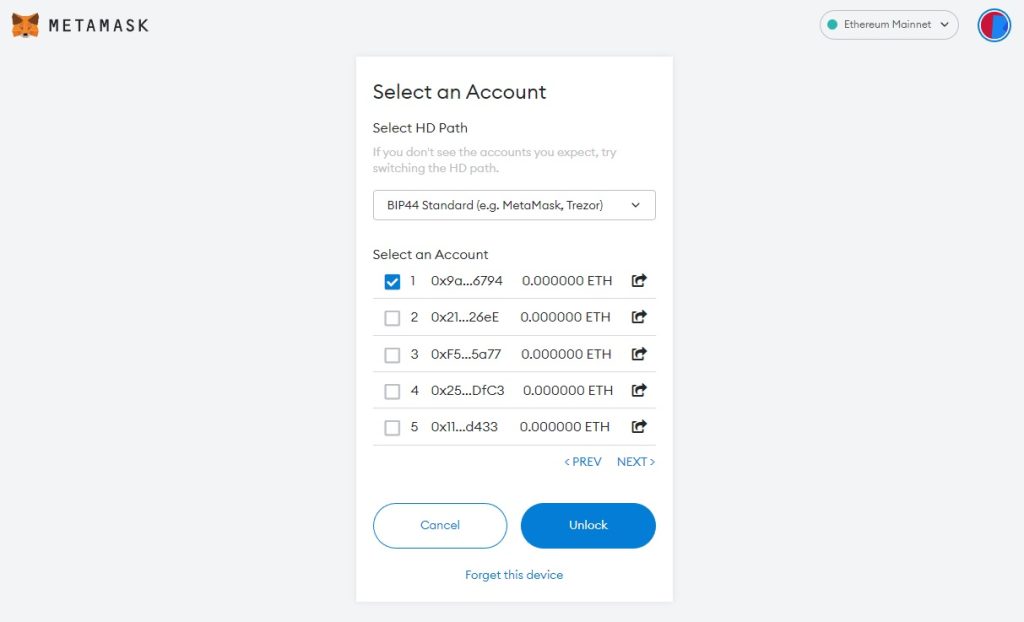
Press “Unlock“
Select the wallet number where the Ethereum is stored. Next, let’s move on to ETHW Ethereum.
Then at the top click on Ethereum Mainnet
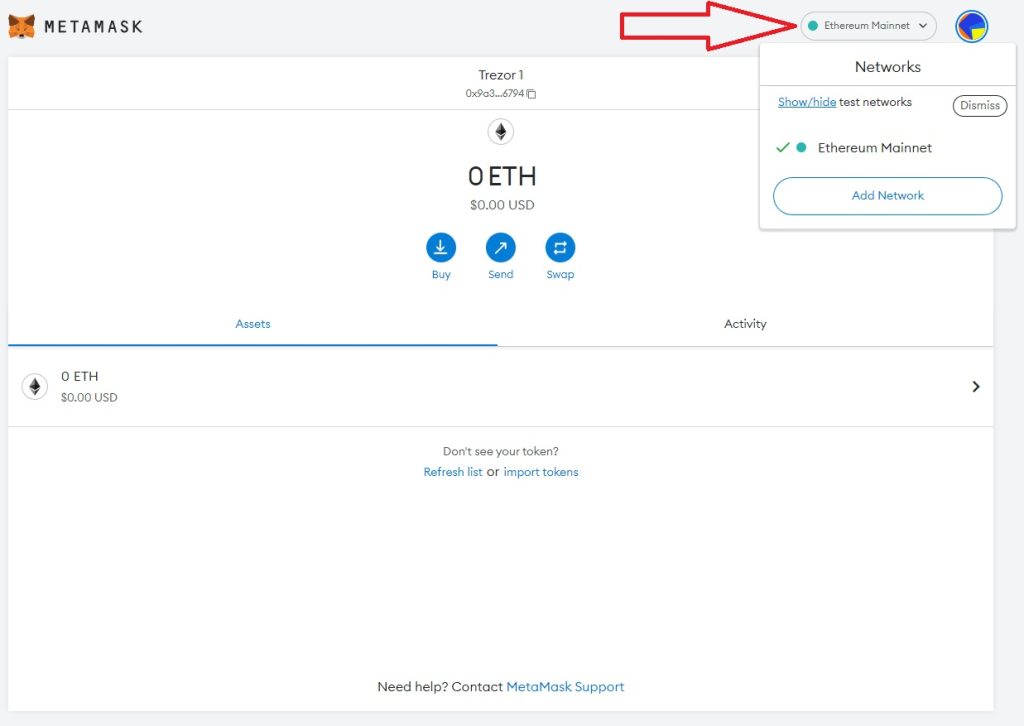
Next, press “Add Network“
ETHW Mainnet Launched
Information sourced from Medium: https://medium.com/@ETHW/ethw-mainnet-info-released-d775865a05e6
Mainnet Info
Network Name: ETHW-mainnet
New RPC URL: https://mainnet.ethereumpow.org
Chain ID: 10001
Currency Symbol: ETHW
Block Explorer URL(Optional): https://mainnet.ethwscan.com
Block Explorer URL(Optional): https://www.oklink.com/en/ethw
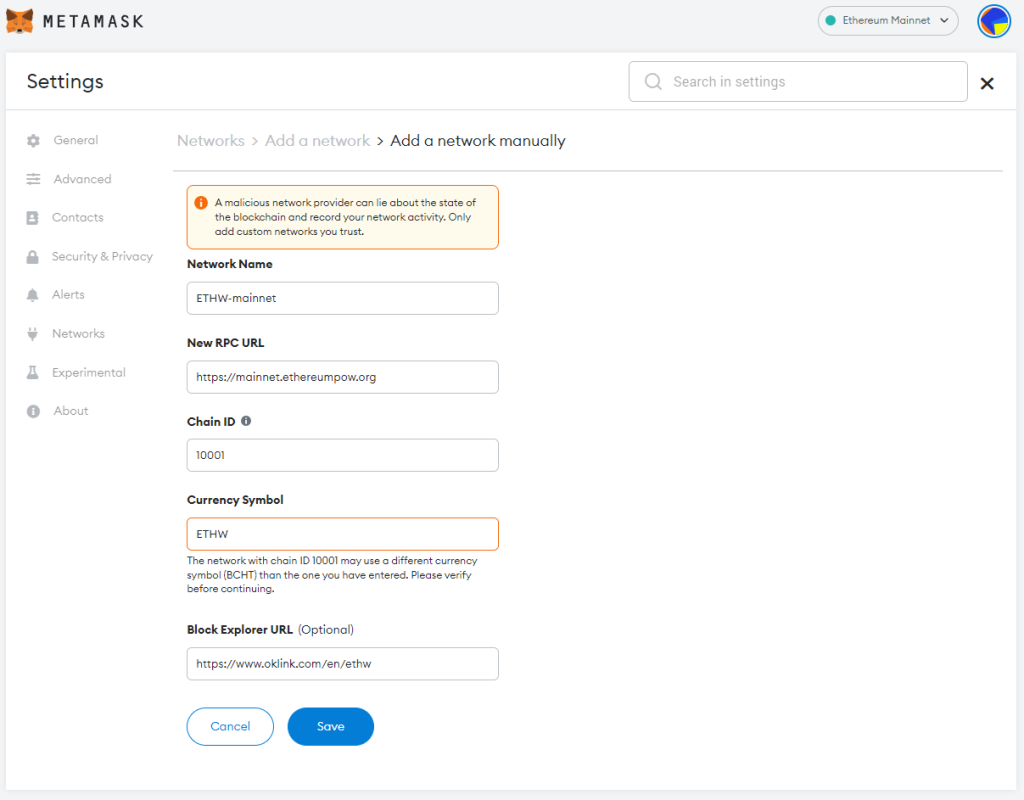
Press “Save“
After that you will see a confirmation “ETHW-mainnet was successfully added!”
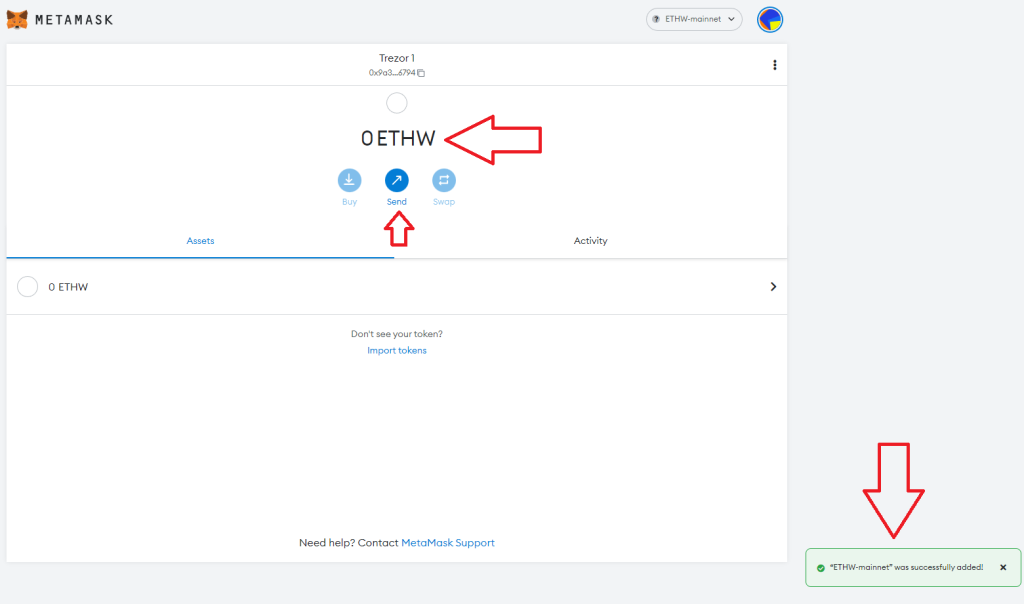
Click further to Activity and back to Assets.
And you will see ETHW you can send to the exchange and sell if necessary.
If the instruction was helpful. You can always support our team for the work done. Thank you!
Donate: https://www.donationalerts.com/r/logll
Our team has written detailed instructions for trading on bybit mt4. Currently one of the largest and best exchanges for trading and storing cryptocurrencies. And the current shares of the exchange allow you to get: Plus, exclusive rewards worth up to $4,150